Learn How to Make Cold Porcelain: Your Essential Guide
If you’re new to sculpting, I suggest starting with a medium that doesn’t dry too quickly, such as fondant or kids’ clay. This will help you get familiar with the basics before moving on to more advanced materials.
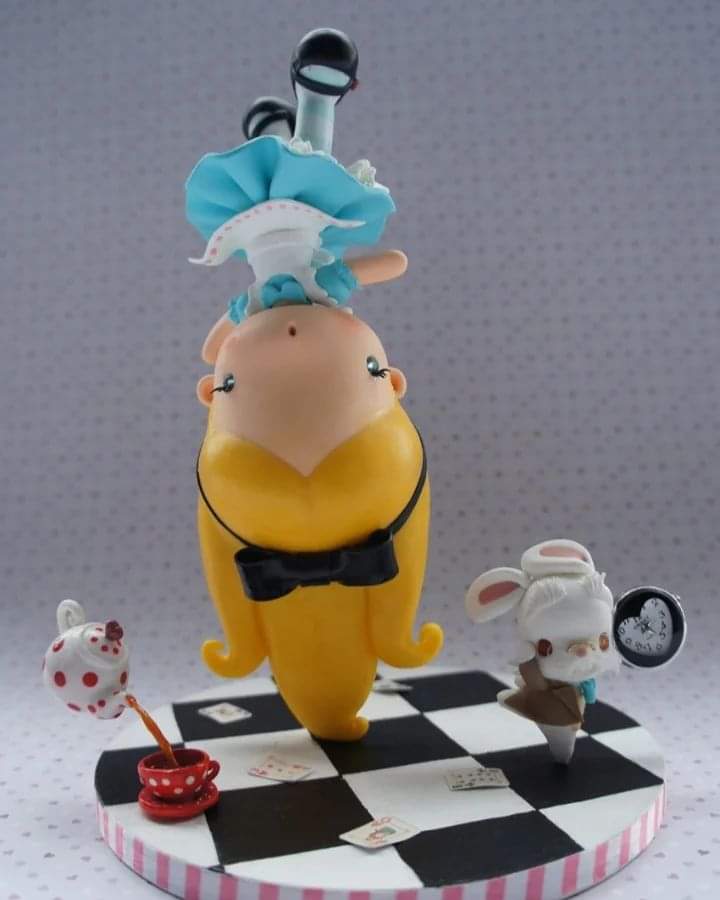
A special thanks to the kind and talented Patricia Tiyemi, who introduced me to making bridal couple toppers and introduced me to cold porcelain. When I learned that it doesn’t melt, I felt relieved knowing that my hard work wouldn’t go to waste.
I always use the recipe from this WikiHow page and have successfully tried the first two methods.
Tips for success:
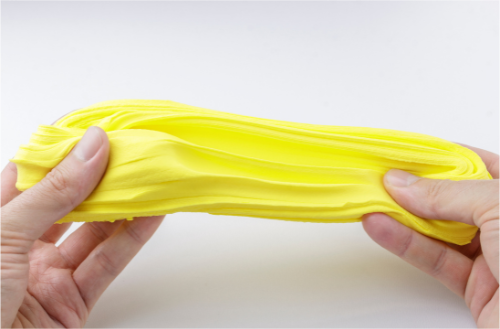
- Small Batches: Make the porcelain in small batches so it can be kneaded to the right consistency.
- Avoid Overheating: Don’t overheat the mixture; it should be elastic, not clumpy.
- Microwave Method: If using the microwave method, reduce the heating time towards the end. For example, if you start with 15-second intervals, decrease to 8 or 5 seconds when it starts to thicken to avoid clumping.
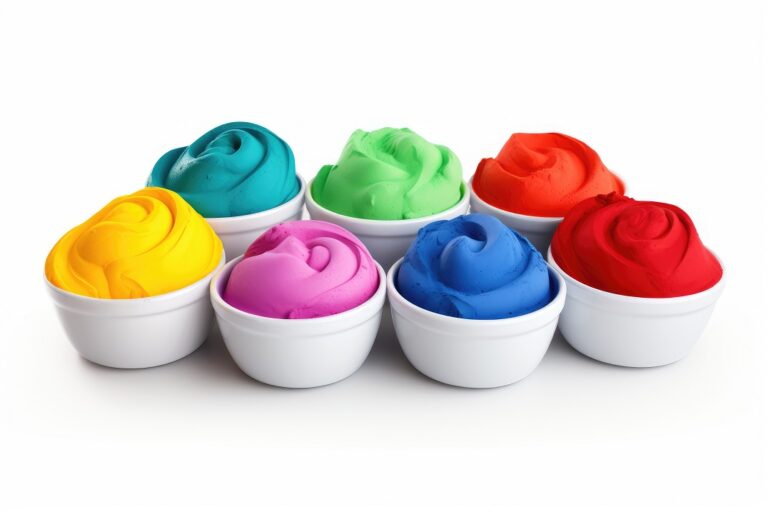
- Storage: If you plan to store the clay for a long time, do not color it as it may spoil. It’s best to color it as needed.
- White Cold Porcelain: Unlike fondant, achieving a pure white color in cold porcelain requires adding white paint. Otherwise, the finished piece will have a translucent effect once it dries
Note: Be sure to use separate utensils for making the clay and do not mix them with food utensils.